We’re big believers in the Design Studio methodology. (Check out our recent—and deep—dive into its inner-workings.) It’s that depth, though, that can sometimes make it feel a bit overwhelming to new adopters. For that reason, we’ve developed a condensed version.
Preliminary Notes on The Design Studio
The Design Studio in a nutshell is the rapid identification of problems followed by the rapid visualization of solutions.
People always ask, “This is just for designers, right?” Wrong. The Design Studio depends heavily on participant diversity. All product stakeholders should have a seat at the table—engineering, sales, marketing, design, project management… everyone. And everyone participates in every phase.
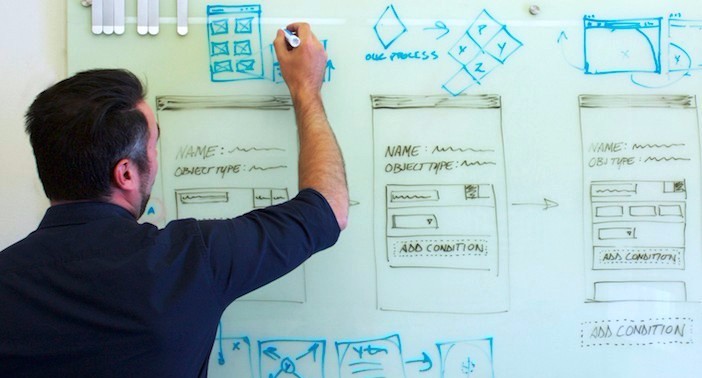
Sketching is a big part of the methodology, so make sure you have whiteboarding materials and individual sketchbooks. Load up on Post-it notes too.
Phase I: Data Collection (15 minutes)
Research (5 minutes)
Fire up Google and identify competing products. Figure out where they break down. Make note of where they succeed. Evaluate their digital ergonomics. Document this research.
Seek Out Use Cases (5 minutes)
Think through how the product or feature will be used in the real world. Define these use cases as specifically as possible. Document every detail. You can discard excess later. Then, formulate questions for the team starting with “Why?” “Why does your user want to do this?”
Ask Questions (5 minutes)
Use case definition leads directly into questioning. Take the last five minutes of your research time and ask stakeholders questions about this feature or product. Use Post-it notes to record their answers. Why Post-its? They keep you constrained to a small space so you don’t over-elaborate.
Like what you’re hearing so far? Download the complete 90 Minute Design Studio Guide for free.
Phase II: Use Cases & User Journeys (15 minutes)
Now that you have your data, get out your sketchpads and start to visualize the user journey through each use case. Flowcharts with well-defined decision points work great here. Answer “who, what, when, where and why.” (Leave “How” for Phase III.) Formulate your user journeys by telling stories:
As a [type of user], I want [goal] so that [reason].
Phase III: Rapid Visualization (15 minutes)
It’s time to get down and sketch out user interface (UI) elements and apply them to the stops along the user journeys defined in Phase II. Spend no more than two minutes on each stop or idea. The purpose of this phase is to sketch as many ideas as possible in 15 minutes. Use pen instead of pencil to prevent erasing.
Building a digital product?
Phase IV: Refine (15 minutes)
Take another crack at sketching some improvements to the concepts that have shown potential. Do not explore all of them. Just take a few minutes to give each of the the loudest some attention. Identify concepts that are ready for testing, those that need further refinement, and those that should be discarded. Prioritize the testable concepts and move them into the wireframe/prototype phase. Set aside and save all concepts that you would like to refine further.
Phase V: Critique & Feedback (15 minutes)
Now that you have produced all of this visual content, you need to get other eyes on it. Grab a few colleagues and pitch your design ideas to them. Collect their thoughts and document their criticism. Do the same on social channels, Slack or HipChat or any other method with which the group is comfortable. (At Arcweb, we have a Slack channel where designers can share their sketches and concepts with the entire team. Collecting feedback—especially external feedback—always benefits the process.) Keep this phase lean. Don’t debate solutions, just gather data.
Phase VI: Ship (15 minutes)
Shipping is about moving your ideas into production. By now your table or whiteboard is full of concepts to review. You have feedback and assets that need sorting in order to be prioritized for the next phase of your product development cycle. The best way to do this? Triage your ideas like so:
First Tier: Ideas that are innovative enough to move on regardless of whether or not you refine further.
Second Tier: Ideas that are not so innovative, difficult to implement, have functional blockers or have been seen as not needed at all.
Third Tier: Ideas that are innovative but in need of much more attention in order to make them both ergonomically and functionally viable.
Building a digital product?
All of your concepts should fit into one of these categories. Those in the first category are what you are shipping. Concepts in this category can safely be moved on to the next phase of your product development cycle. Ideas and concepts in the second category should be eliminated but not discarded. Finally, concepts in the third category should be moved on to a future Design Studio or at least considered for more refinement. The 90 minutes that we had may not have been enough and if those concepts are truly viable, spending some more time on them is time well spent.